How to apply Bilt Hamber protective anti-corrosion wax to the underbody by yourself
18. 07. 2025
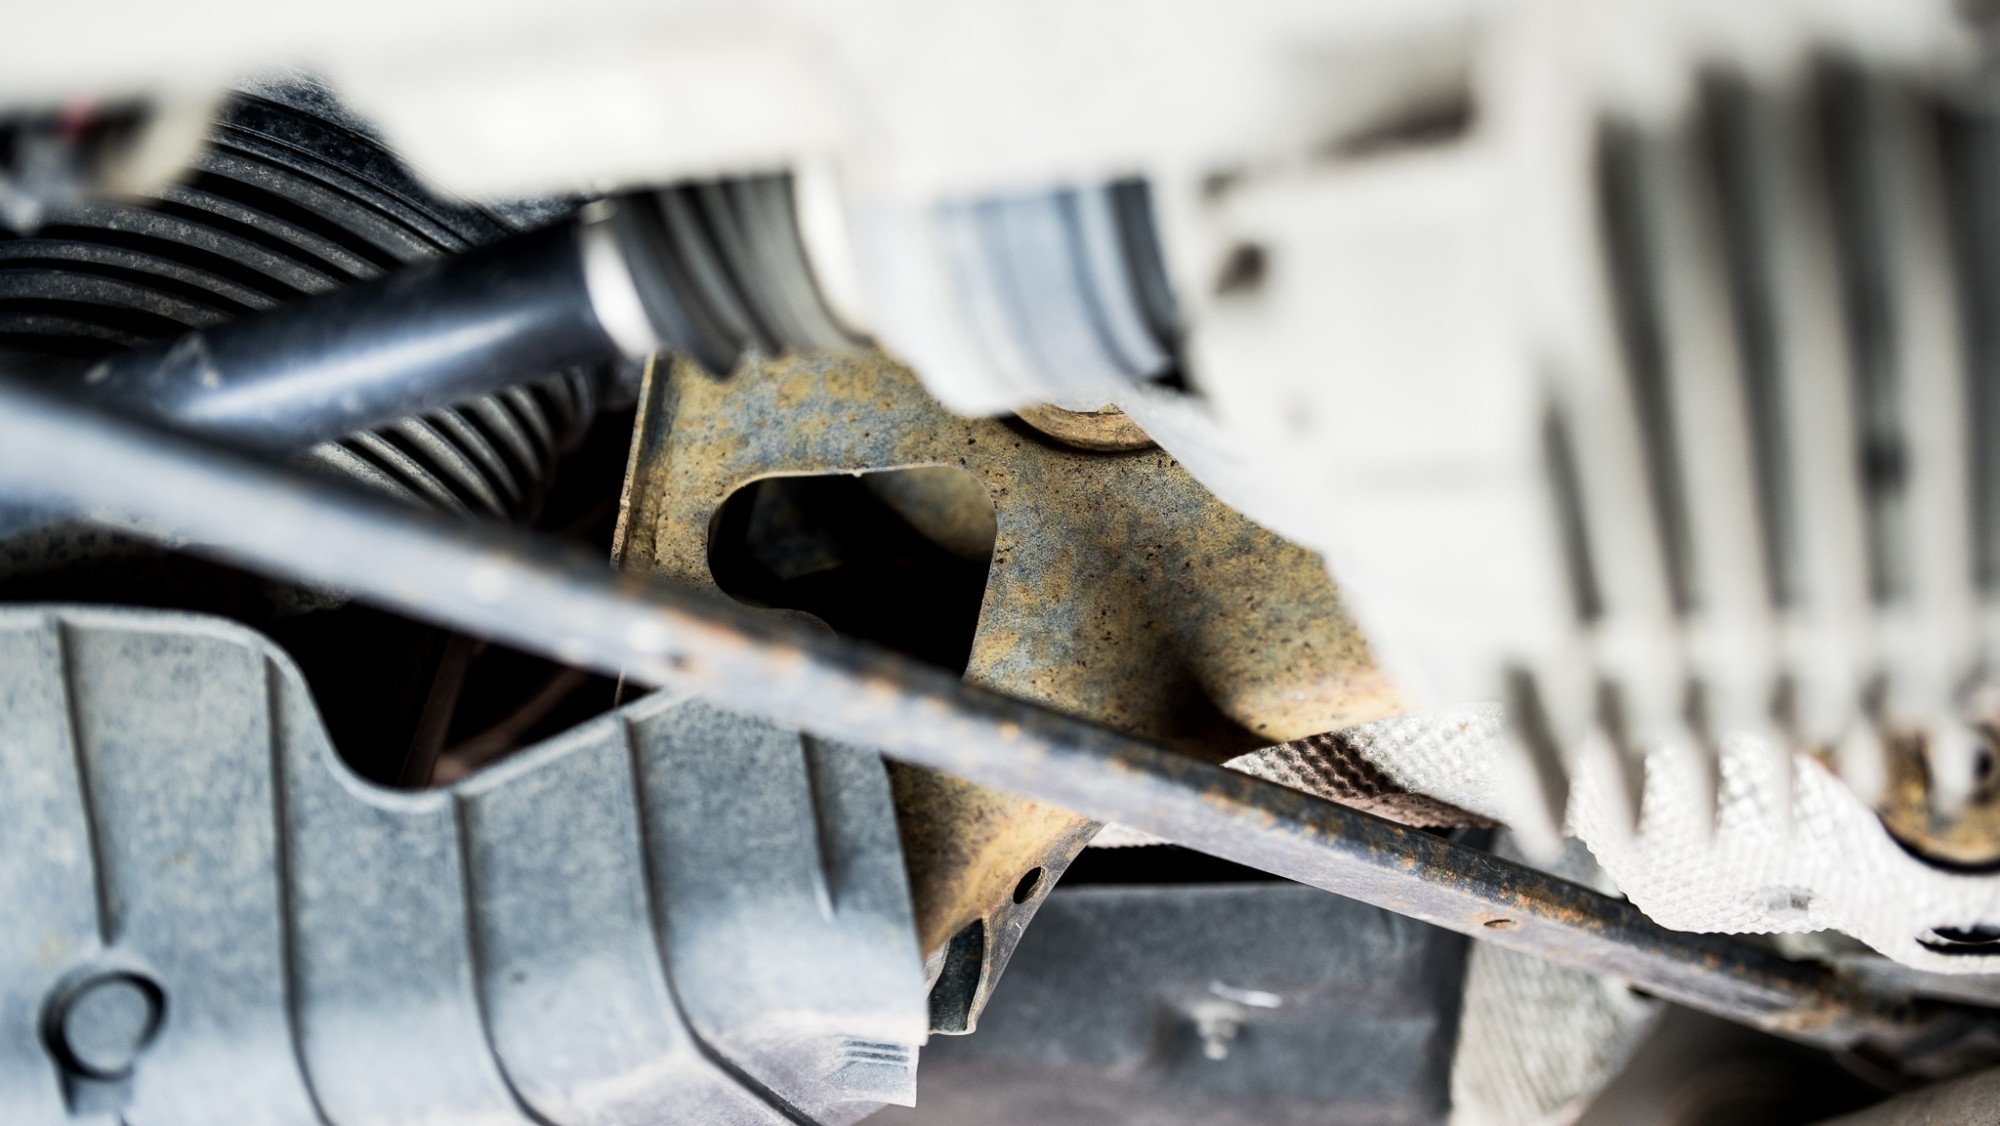
Underbody protection is once again a hot topic today. In the last century, our grandfathers often protected the underbodies of their Lada or Škoda cars with an asphalt anti-corrosion coating (known more than 50 years ago as Tlumex plastic or bitumen compound), which protected the underbody and was flexible. Around 2000, cars did not rust as much as those from the 1990s and earlier, and chassis protection was no longer such a big issue, as it was largely taken care of during the manufacturing process at the factory. For more than ten years now, under the pressure of costs and competition, car manufacturers have often been looking for savings where the customer cannot see them at first glance - and anti-corrosion protection of the chassis is a typical example. Today, it is not unusual for a car to have corroded arms, axles, axle beams, and other metal parts on the chassis after two years of normal operation. That is why anti-corrosion protection products for the underbody are once again becoming a focus of interest. One of our company cars is a 2020 Porsche Cayenne 9Y0 with 85,000 km on the odometer, driven mainly outside the winter season. Unfortunately, even in such a premium car, the anti-corrosion protection of metal parts is inadequate. At the time of purchase, the car had a purchase value of over 5 million CZK, and after only five years of operation, the sight of the chassis evokes sadness and frustration. How is this even possible? And because we love our cars, we had no choice but to take care of the chassis in addition to protecting the paintwork. In this article, we will show you a step-by-step guide on how to clean the chassis and then apply Bilt Hamber's top-of-the-line protective wax - all by yourself!
Suitable location
Our assembly workshop has a mobile scissor lift, which is used sporadically, for example, to change the oil on company cars or to change tires. We realize that not everyone will have this option. But those who want to will always find a way – that's why this article is aimed at customers who are not afraid to find a jack somewhere, or possibly do it at home on ramps or in a repair pit – in short, those who are able to improvise. The ability to lift the car directly determines the comfort of cleaning and the possibility of subsequent wax application. It is also necessary to take into account that water will be used for rinsing, which must be pumped out or allowed to drain away. We used our floor cleaning machine for the waste water, which handled it with ease. This article is therefore intended for the more adventurous and skilled among us.
How much time will it take?
Before you begin the entire waxing process, you need to plan the time you will need for this task. There are two options. Either you thoroughly clean the car in one day and let it dry for a day, applying the wax the following day, or you can do it all in one day, cleaning the car, thoroughly blowing out the chassis with air so that no water remains, and then applying the anti-corrosion wax on the same day. It took us about 4 to 5 hours to disassemble the necessary parts of the chassis, depending on the car model. Front-wheel drive cars will take less time. Cleaning the chassis takes about 3 to 4 hours and applying the wax takes about 2 hours. After application, it is important to let the wax cure for at least one day before putting all the plastic parts back. The whole process can take 3 to 4 days with breaks – this is an important detail for anyone planning to rent a jack.Let's begin with disassembly
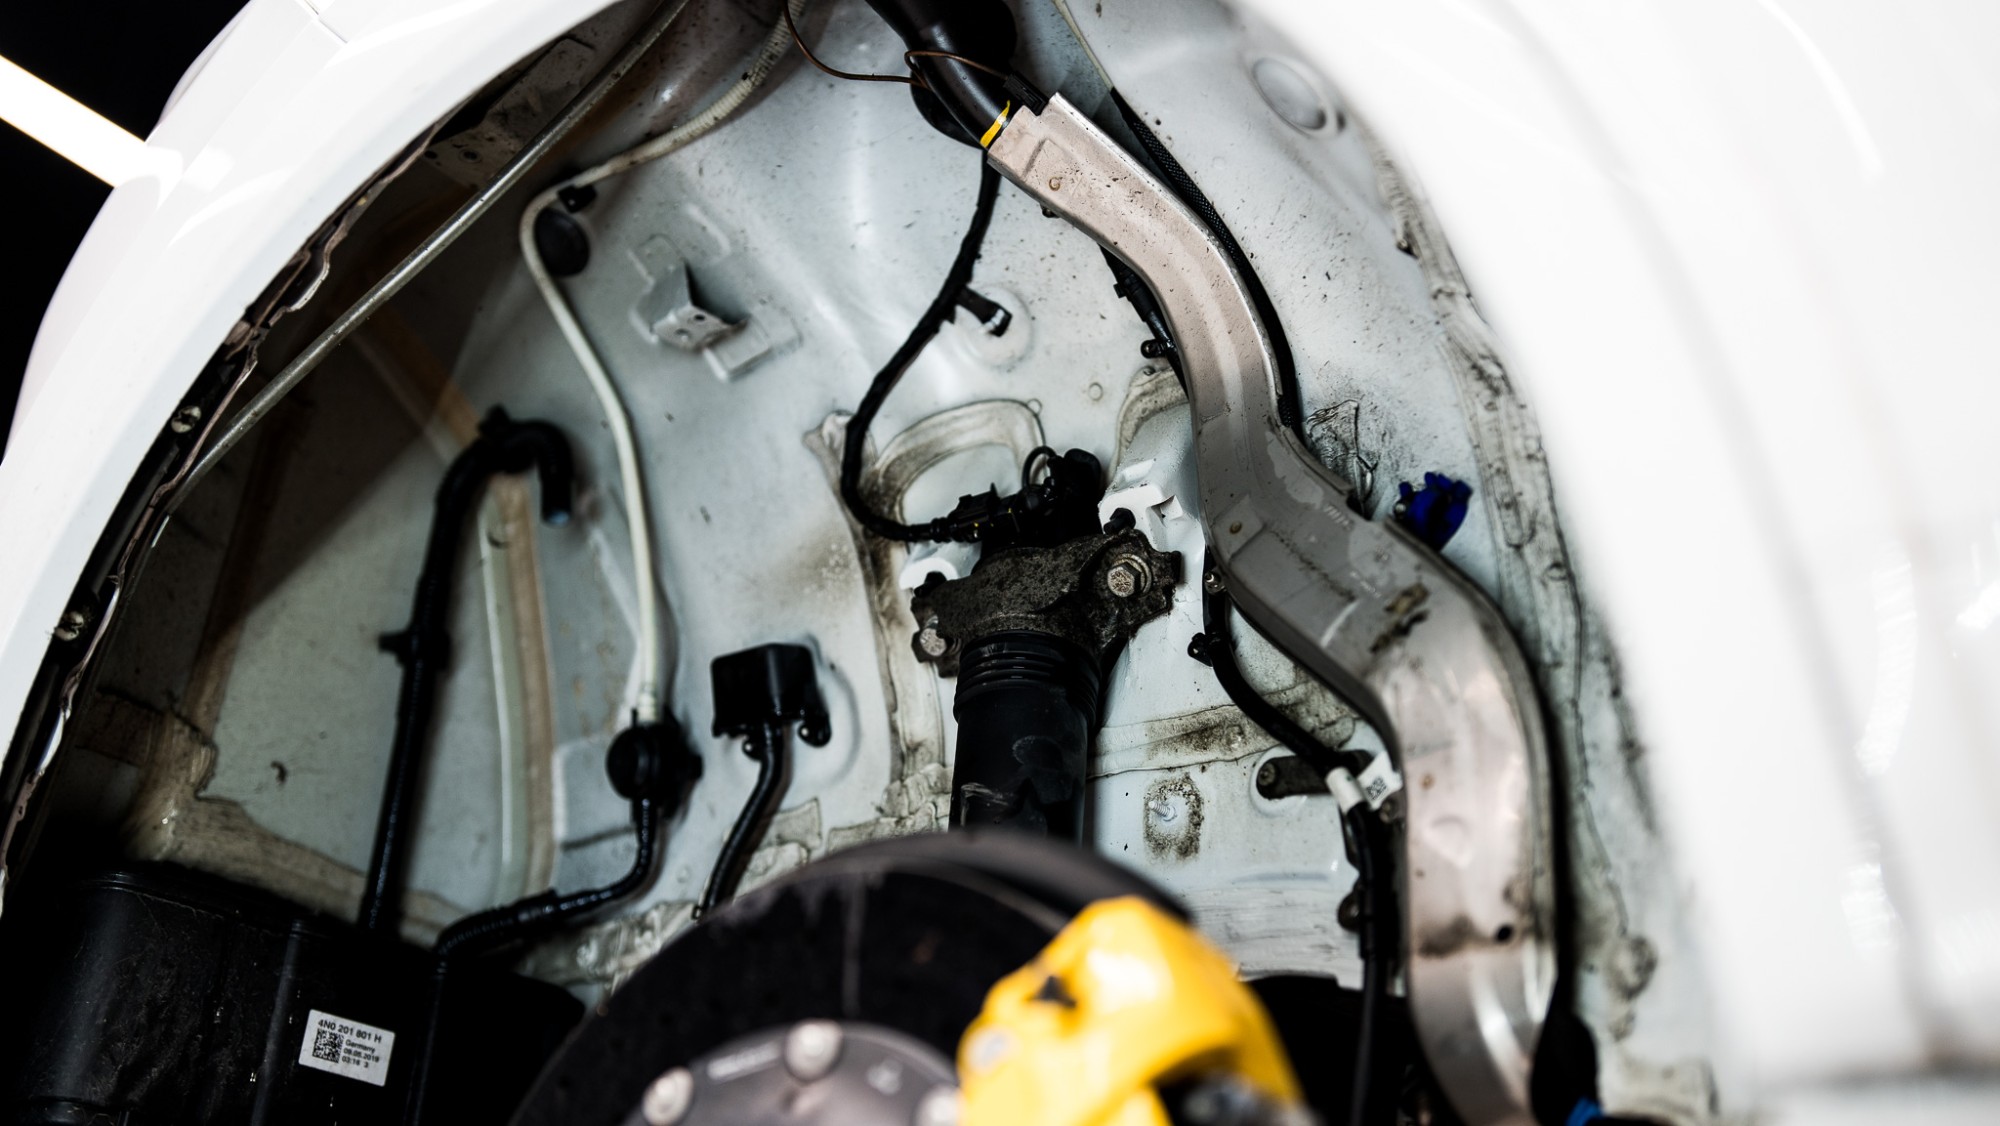
Let's assume that the car is carefully positioned on a jack. Start by removing the wheels, which will open up the wheel wells, where most of the dirt tends to accumulate. After removing the wheels, it is recommended to remove the plastic or fabric wheel arches, protective plastic parts of the chassis, and possibly some of the shields that protect the bodywork from the hot exhaust. The goal is to expose as much of the bodywork as possible. The wheel arches can be washed on the car or removed. We washed the visible part of the wheel arches on the car because of the mounting and the inner part separately from the car. The front fender behind the wheel is a risky place for many car manufacturers, as dirt and debris accumulate there over the years, causing the car to rust prematurely in these areas. You are probably familiar with this issue, for example, with the first-generation Škoda Fabia. But this problem affects a much larger number of cars, such as the Superb, where there is also special acoustic foam in the fender, which is damp for most part of the year and creates an ideal environment for future corrosion.


Cleaning the underbody
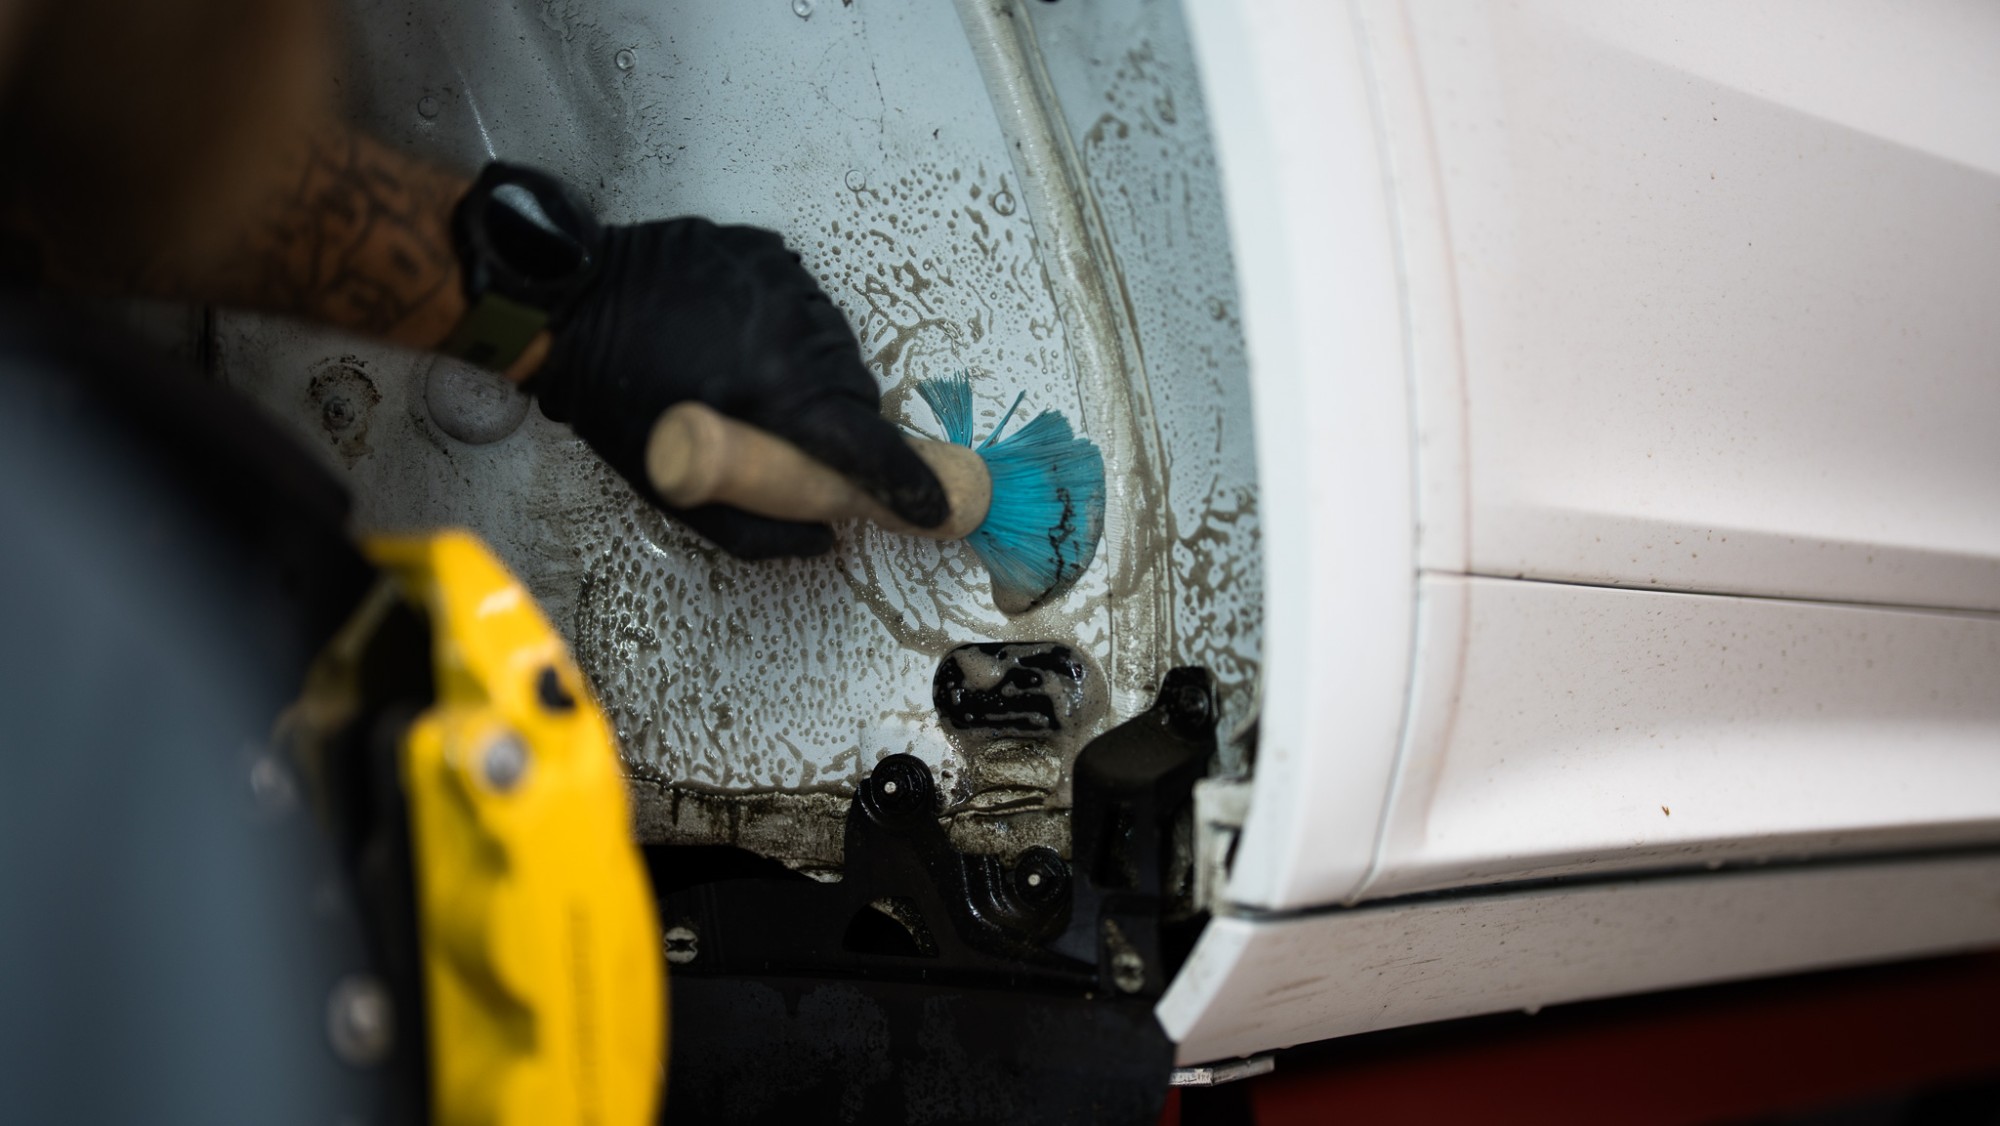
To clean the undercarriage, prepare a chemically resistant brush, such as Liquid Elements Brush Heavy Brush - strong, which has stiff nylon bristles that are better at removing heavy dirt from the undercarriage. However, you can also use any brush or paintbrush, but it should have stiffer bristles. We used Bilt Hamber Surfex-HD, a multi-purpose cleaner that we have been using for many years, to clean the underbody. It can remove most dirt from the chassis and is completely biodegradable. However, some parts of the chassis may also have tar and rust spots, which fortunately was not the case for us. If you find such contamination, use Bilt Hamber Korrosol rust remover or your favorite rust remover locally on the affected areas, followed by the highly effective Gyeon Q2M Tar REDEFINED tar and asphalt cleaner. When cleaning, always spray the product on the area first and let it work for a while. Never make the mistake of spraying the cleaner on the surface and starting to clean immediately! The cleaner needs time to start working. When washing the underbody of your car, try to clean every nook and crevice, use good lighting, and do your best to remove as much dirt as possible. After cleaning, it is important to spray off any remaining dirt with a pressure washer. Be thorough! You can then wash the removed parts of the undercarriage outside the car and leave them to dry, or dry them with a drying towel after washing. Once you are sure you have done your best, blow the chassis dry or leave it to dry overnight. Wear protective rubber gloves and safety goggles to protect your eyes while working.


Bilt Hamber Dynax-UC anti-corrosion wax
Bilt Hamber Dynax-UC is a high-performance anti-corrosion wax that creates a thin, almost transparent protective film. Its solid, waxy film is rich in unique metal-seeking anti-corrosion inhibitors that stop existing corrosion and prevent new corrosion. Dynax-UC can be applied to bare metal or painted surfaces wherever needed and is completely safe for use on the vast majority of painted surfaces. It is ideal where dark waxes or underbody coatings would interfere with the painted surface of the bodywork or underbody. It is a durable wax film that provides mechanical protection to the protected surface. Dynax-UC is the ideal product for ensuring a high level of protection, not only during the winter months. The anti-corrosion wax creates a flexible film that does not crack or peel, repelling water, salt, and dirt. It has a wide range of uses on underbody panels, chassis, floors, sills, chrome, wheel suspensions, fastenings, wheel arch edges, etc. Dynax-UC is also ideal for protecting motorcycles, alloys, aluminum, boats, lawnmowers, machines, tools, and many other devices.Application of clear anti-corrosion wax to the underbody
Once the chassis is dry, we can move on to applying Bilt Hamber Dynax protective wax. Bilt Hamber offers two basic types of anti-corrosion waxes for chassis: Bilt Hamber Dynax-UC and Bilt Hamber Dynax-UB. UC stands for clear and UB for black, but in this case it is more brown, still slightly transparent. Bilt Hamber Dynax-UB is also available in liquid form in a can and can be applied with a brush, offering extreme protection of up to 100 microns in two layers. We chose the transparent Dynax UC wax. In our opinion, the clear version is more suitable for modern cars, while the darker version may be more suitable for older cars. We sprayed the entire chassis in two coats after 30 minutes, when it is necessary to apply the wax ideally to all areas of the vehicle chassis, including wheel arches, arms, axles, etc. Apply Bilt Hamber Dynax-UC in thin layers; the thickness of the protective film should be increased in layers; two light layers are better than one thick layer. With a dry film thickness of around 50 microns, Dynax-UC remains virtually transparent. The wax hardens to its final strength after 24 to 96 hours, although the vehicle can be used after 30 minutes if necessary. The dry film is as hard as candle wax and, once fully cured, will resist dirt pickup compared to other protective waxes. Before spraying, we coated the rear axle, tank mounts, and some metal parts with anti-corrosion black paint, as these parts were already significantly corroded on the surface.


Car assembly and material consumption
After spraying with anti-corrosion wax, it is advisable to leave the car in a dry and warm place for at least one day so that the anti-corrosion wax can harden properly. You can then begin to reassemble the chassis parts, protective plastics, wheel arches, and wheels. After applying the protective wax, the car smells pleasant on the outside, the life of your car is extended, and together this creates a pleasant feeling of a job well done. We used 3 liters of undiluted Bilt Hamber Surfex-HD multi-purpose cleaner to clean the chassis of a Porsche Cayenne. In this case, it is worth buying a larger, 5-liter package. We used three 750ml bottles of Bilt Hamber Dynac-UC anti-corrosion wax to protect the chassis. Finally, we would like to recommend that you apply this protection before the onset of winter, ideally in summer, when the car is free of salt and dries quickly. In our experience, this anti-corrosion wax lasts four to six years on a car with a mileage of 30,000 km per year. But beware of aggressive cleaners and solvents! These can damage and sometimes even remove the wax anti-corrosion layer, but it is unlikely that anyone would use aggressive solvents on a chassis protected with anti-corrosion wax.
Related Products
Bilt Hamber Surfex HD V2 (1 L) TipUpdatedQuick previewuniversal cleaner and effective water-based degreaser, 1000 ml23,90 EURTemporarily unavailableBilt Hamber Surfex HD V2 (5 L)
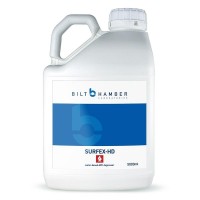 TipUpdatedQuick previewwater-based universal cleaner and degreaser, 5000 ml44,90 EURTemporarily unavailableBilt Hamber Dynax-UC (5 L)
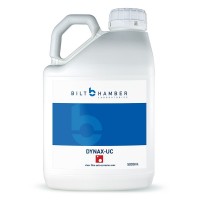 UpdatedQuick previewhigh-performance anti-corrosion wax not only for the chassis, 5000 ml108,90 EURTemporarily unavailableBilt Hamber Dynax-UC (750 ml)
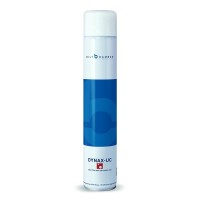 UpdatedQuick previewhigh-performance anti-corrosion spray wax not only for the chassis, 750 ml31,90 EURTemporarily unavailableBilt Hamber Dynax-UB (1 L)
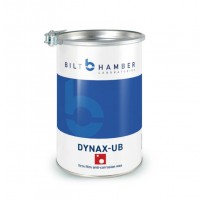 UpdatedQuick previewthe best quality anti-corrosion chassis wax, packaged in a can, 1000 ml28,90 EURIn stockBilt Hamber Dynax-UB (5 l)
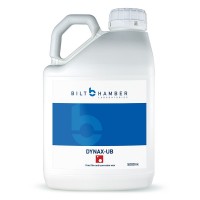 UpdatedQuick previewthe best quality anti-corrosion wax for the chassis, 5000 ml108,90 EURTemporarily unavailableBilt Hamber Dynax-UB (750 ml)
 UpdatedQuick previewthe best quality anti-corrosion chassis wax, spray pack, 750 ml31,90 EURTemporarily unavailableValetPRO Chemical Resistant Brush (plastic handle)
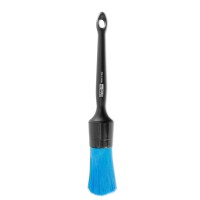 Quick previewsmall wheel brush, chemical resistant14,90 EURIn stockLiquid Elements Brush Heavy Brush - strong
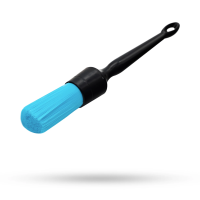 UpdatedQuick previewdurable brush for ALU wheels, engine and heavily soiled areas6,90 EURIn stockGyeon Q2M Tar (500ml)
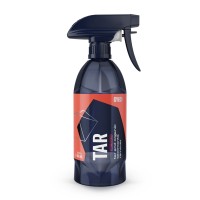 TipQuick previewpH-neutral tar and adhesive residue remover, 500 ml19,90 EURIn stockBilt Hamber Korrosol V2 (1 l)
 TipUpdatedQuick previewthe best-selling acid-free fly rust remover with a balanced pH, 1000 ml25,90 EURTemporarily unavailableCarbon Collective Air Force 1 Car Dryer Free transport
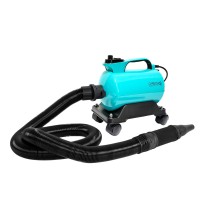 UpdatedQuick preview2800 W powerful electric dryer, contactless body drying306,90 EURIn stockCarbon Collective Air Force 2 Car Dryer Free transport
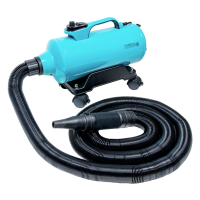 UpdatedQuick previewelectric dryer, contactless body drying405,90 EURIn stock
TipUpdatedQuick previewuniversal cleaner and effective water-based degreaser, 1000 ml23,90 EURTemporarily unavailableBilt Hamber Surfex HD V2 (5 L)TipUpdatedQuick previewwater-based universal cleaner and degreaser, 5000 ml44,90 EURTemporarily unavailableBilt Hamber Dynax-UC (5 L)UpdatedQuick previewhigh-performance anti-corrosion wax not only for the chassis, 5000 ml108,90 EURTemporarily unavailableBilt Hamber Dynax-UC (750 ml)UpdatedQuick previewhigh-performance anti-corrosion spray wax not only for the chassis, 750 ml31,90 EURTemporarily unavailableBilt Hamber Dynax-UB (1 L)UpdatedQuick previewthe best quality anti-corrosion chassis wax, packaged in a can, 1000 ml28,90 EURIn stockBilt Hamber Dynax-UB (5 l)UpdatedQuick previewthe best quality anti-corrosion wax for the chassis, 5000 ml108,90 EURTemporarily unavailableBilt Hamber Dynax-UB (750 ml)UpdatedQuick previewthe best quality anti-corrosion chassis wax, spray pack, 750 ml31,90 EURTemporarily unavailableValetPRO Chemical Resistant Brush (plastic handle)Quick previewsmall wheel brush, chemical resistant14,90 EURIn stockLiquid Elements Brush Heavy Brush - strongUpdatedQuick previewdurable brush for ALU wheels, engine and heavily soiled areas6,90 EURIn stockGyeon Q2M Tar (500ml)TipQuick previewpH-neutral tar and adhesive residue remover, 500 ml19,90 EURIn stockBilt Hamber Korrosol V2 (1 l)TipUpdatedQuick previewthe best-selling acid-free fly rust remover with a balanced pH, 1000 ml25,90 EURTemporarily unavailableCarbon Collective Air Force 1 Car Dryer Free transportUpdatedQuick preview2800 W powerful electric dryer, contactless body drying306,90 EURIn stockCarbon Collective Air Force 2 Car Dryer Free transportUpdatedQuick previewelectric dryer, contactless body drying405,90 EURIn stockSimilar articles
 20 years of Ahifi: Comfortmat – the manufacturer that rewrote the rules of soundproofing
Comfortmat has changed the world of soundproofing. New technologies, high effectiveness, and the trust of technicians and customers alike – let's take a look at why Comfortmat is so popular.
Entire article