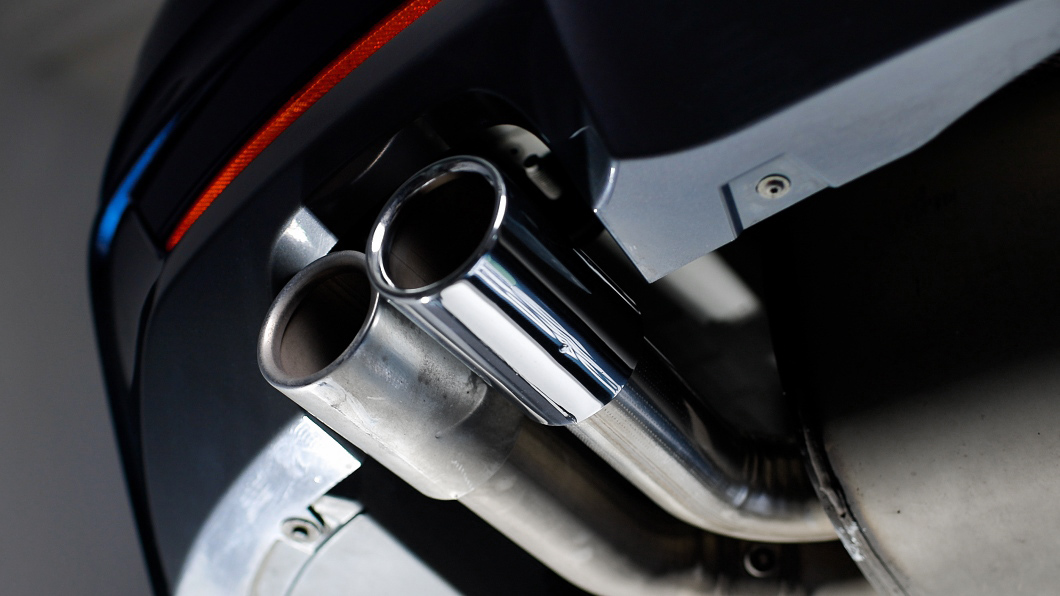
The exhaust tip is one of those details that can strongly influence the overall impression of a car. Even if the body is perfectly washed and the wheels are clean, a blackened, dulled, or oxidized tip can needlessly ruin an otherwise good result. The good news is that in most cases no complicated renovation is necessary. With the right procedure and an appropriate metal polish you can restore a markedly neglected surface to a clean, shiny appearance in a relatively short time.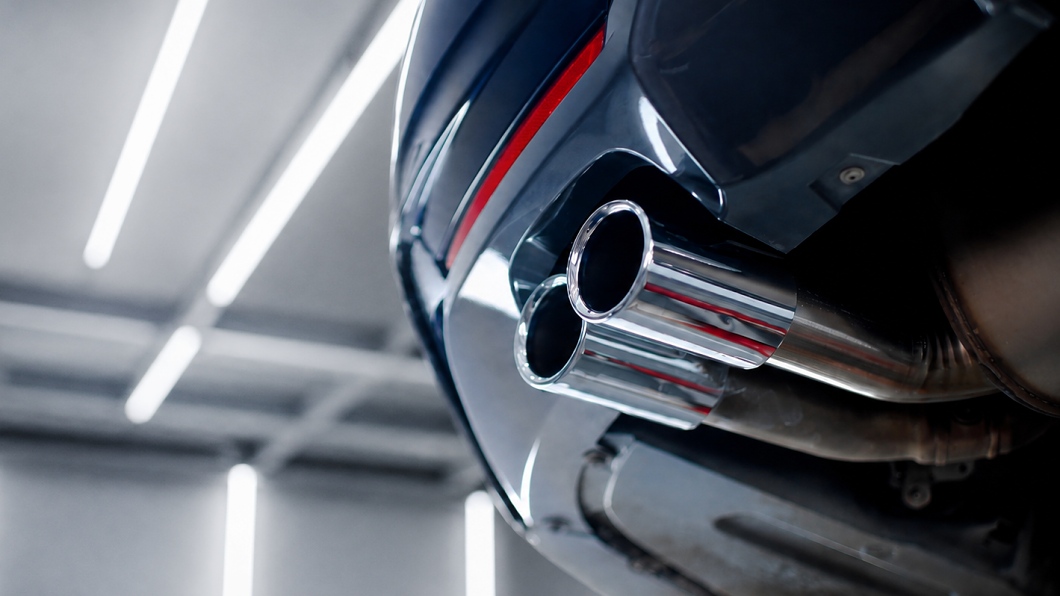
Why exhaust tips gradually blacken and lose their shine
Exhaust tips are exposed to several types of contamination at the same time. From the inside, soot and other combustion products accumulate on them, while from the outside they are affected by road dirt, water, de-icing salt and high temperatures. Gradually a combination of greasy film, carbon deposits, mineral stains and oxidation forms. With prolonged neglect, the dirt can literally bake onto the surface. Regular car shampoo will then only remove loose dirt, but it won't resolve the matte appearance, oxidation and fine surface defects.
Polishing works differently than mere chemical cleaning. The fine abrasives contained in the paste mechanically work the topmost layer of the surface, remove the dulled film and help restore its smoothness and shine. That's why the difference before and after polishing is often so significant.
A specialized metal polish is essential
For a dulled exhaust tip it is important to use a polish designed specifically for metal surfaces. A classic polish for paint has a different composition, a different level of abrasiveness and won't do much when removing oxidation, burnt-on dirt or carbon deposits. A specialized metal polish can clean the surface more effectively, gently work the top layer and re-emphasize the original shine. The advantage is that such a product can be used not only on exhaust tips but also on other suitable metal parts of the car.
Gyeon Q²M MetalPolish
There are many metal polishes on the market; for this article we chose Gyeon Q²M MetalPolish, with which we have long-term good experience and which is also the best-selling metal polish in our e-shop. MetalPolish helps remove oxidation, dulled film, stains and light surface defects and at the same time can buff metal to a clean and pronounced shine. It can be used by hand with a microfiber or foam applicator, and for more experienced users also with a machine and a suitable polishing pad. For routine maintenance of the exhaust tip, however, hand polishing is the safest and in most cases entirely sufficient. It allows precise control of pressure and the area being worked on and significantly reduces the risk of contact with the bumper.
MetalPolish is especially useful on:
- Stainless steel and chrome exhaust tips.
- Polished or chrome wheel parts.
- Metal decorative trims.
- Polished aluminum.
- Stainless and chrome accessories.
- Other untreated metal surfaces.
How to polish a dulled exhaust tip step by step
The procedure itself is not complicated and you can manage it without a polisher or other special tools. It is important to work on a completely cooled tip, first thoroughly remove loose dirt from the surface and only then start polishing. Besides a metal polish, prepare a universal cleaner, an applicator and several microfiber cloths. We recommend using older cloths because carbon and polish residues can soil them quite heavily. And don't forget nitrile gloves to protect your skin from chemicals.
1. Thoroughly clean the tip first
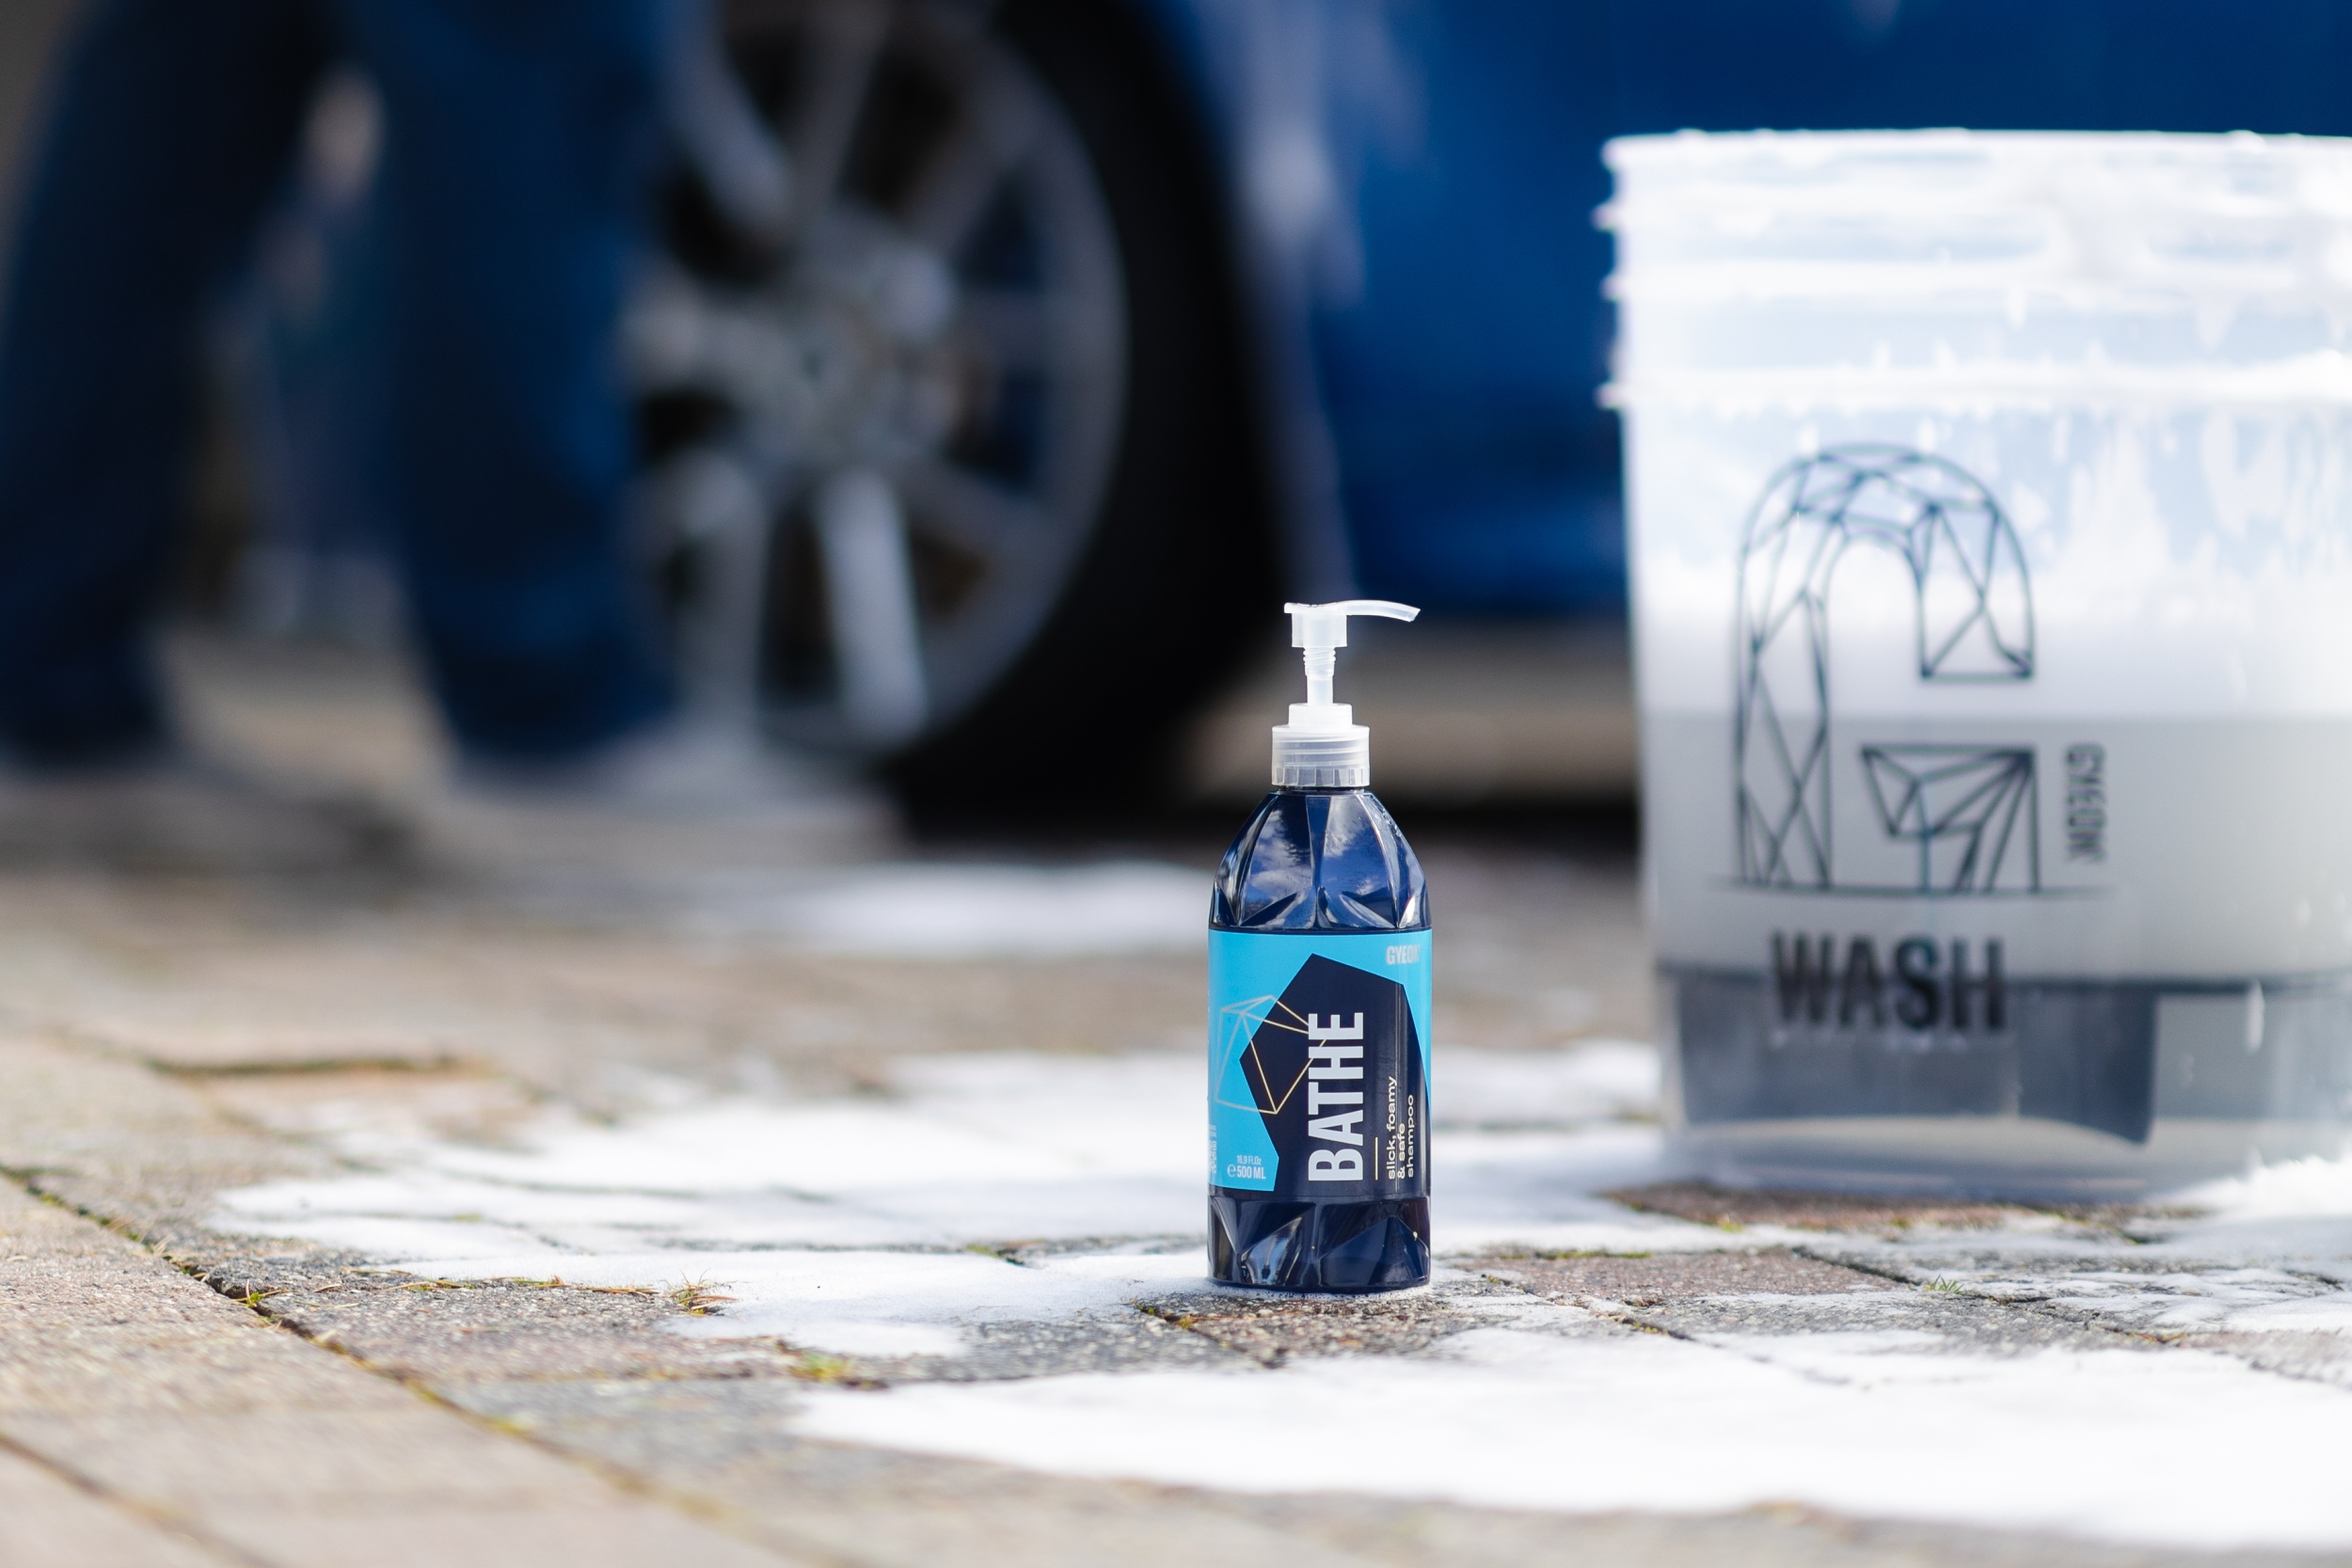
Before you start polishing, remove common road dirt, grease and loose carbon deposits from the surface. The easiest way is to wash the tip during a regular car wash using car shampoo. For a more heavily soiled surface we recommend using a stronger universal cleaner; for these purposes we have had good results with, for example, Bilt Hamber Surfex-HD.
Then rinse and dry the tip thoroughly. This step should not be underestimated because coarse dirt trapped between the applicator and the metal could create additional scratches during polishing.
2. Apply a small amount of polish and buff the surface
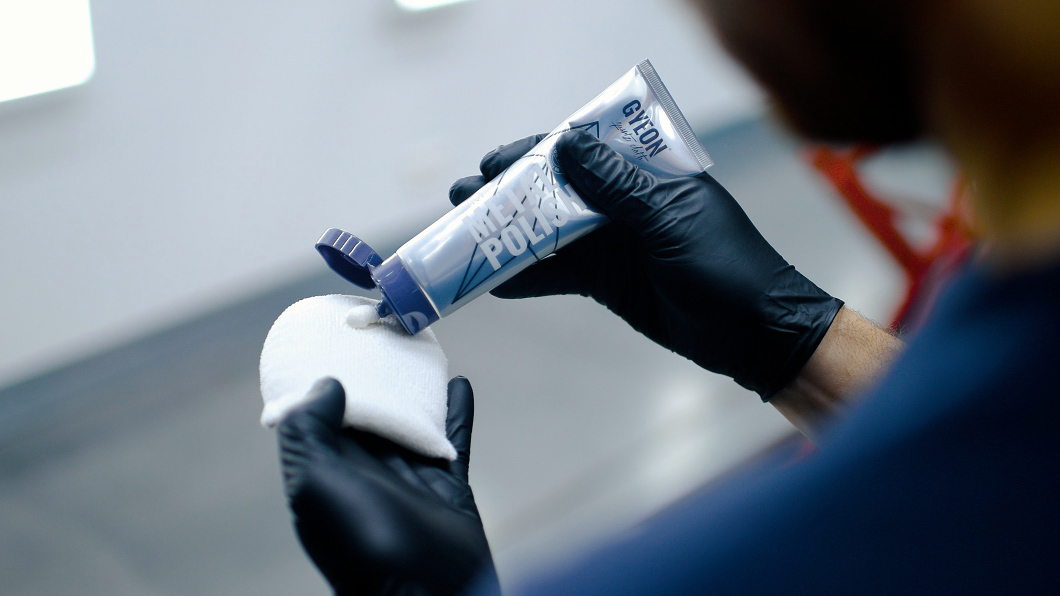
Shake the polish well before use. Apply a small amount of product to the applicator, ideally microfiber— a pea-sized drop is enough. A larger amount will not speed up the work; it will only be harder to work in and later remove. Work the polish with even motions and light to moderate pressure. Always work on smaller sections of the tip so you can maintain good control over the result. For a commonly dulled surface, a few dozen seconds is usually enough, but heavier oxidation or burnt-on dirt may require longer work or repeated application. During polishing the applicator and the paste will likely turn black. This is completely normal when polishing metal surfaces and nothing to fear. The dark color is created by a combination of loosened dirt, oxidation and tiny particles of the worked metal.
Our tip: don't forget the inner edge of the tip! The largest amount of carbon is usually on the inner edge, which is clearly visible when looking at the rear of the car. This is often where polishing may need to be repeated a few times and slightly more pressure applied. It is not necessary to clean the exhaust deep inside. For a good visual result it is usually sufficient to clean the visible inner edge and the first few centimeters of the tip.
3. Wipe off polish residues with a microfiber cloth and check the result
After working the paste in, wipe off its residues with a clean microfiber cloth. With the other, dry side of the cloth, further polish the surface and check the result under good light. If a dulled film, oxidation or more pronounced stains remain on the metal, repeat the entire procedure. Better results are usually achieved with several shorter and controlled applications than with one long and unnecessarily aggressive polishing.
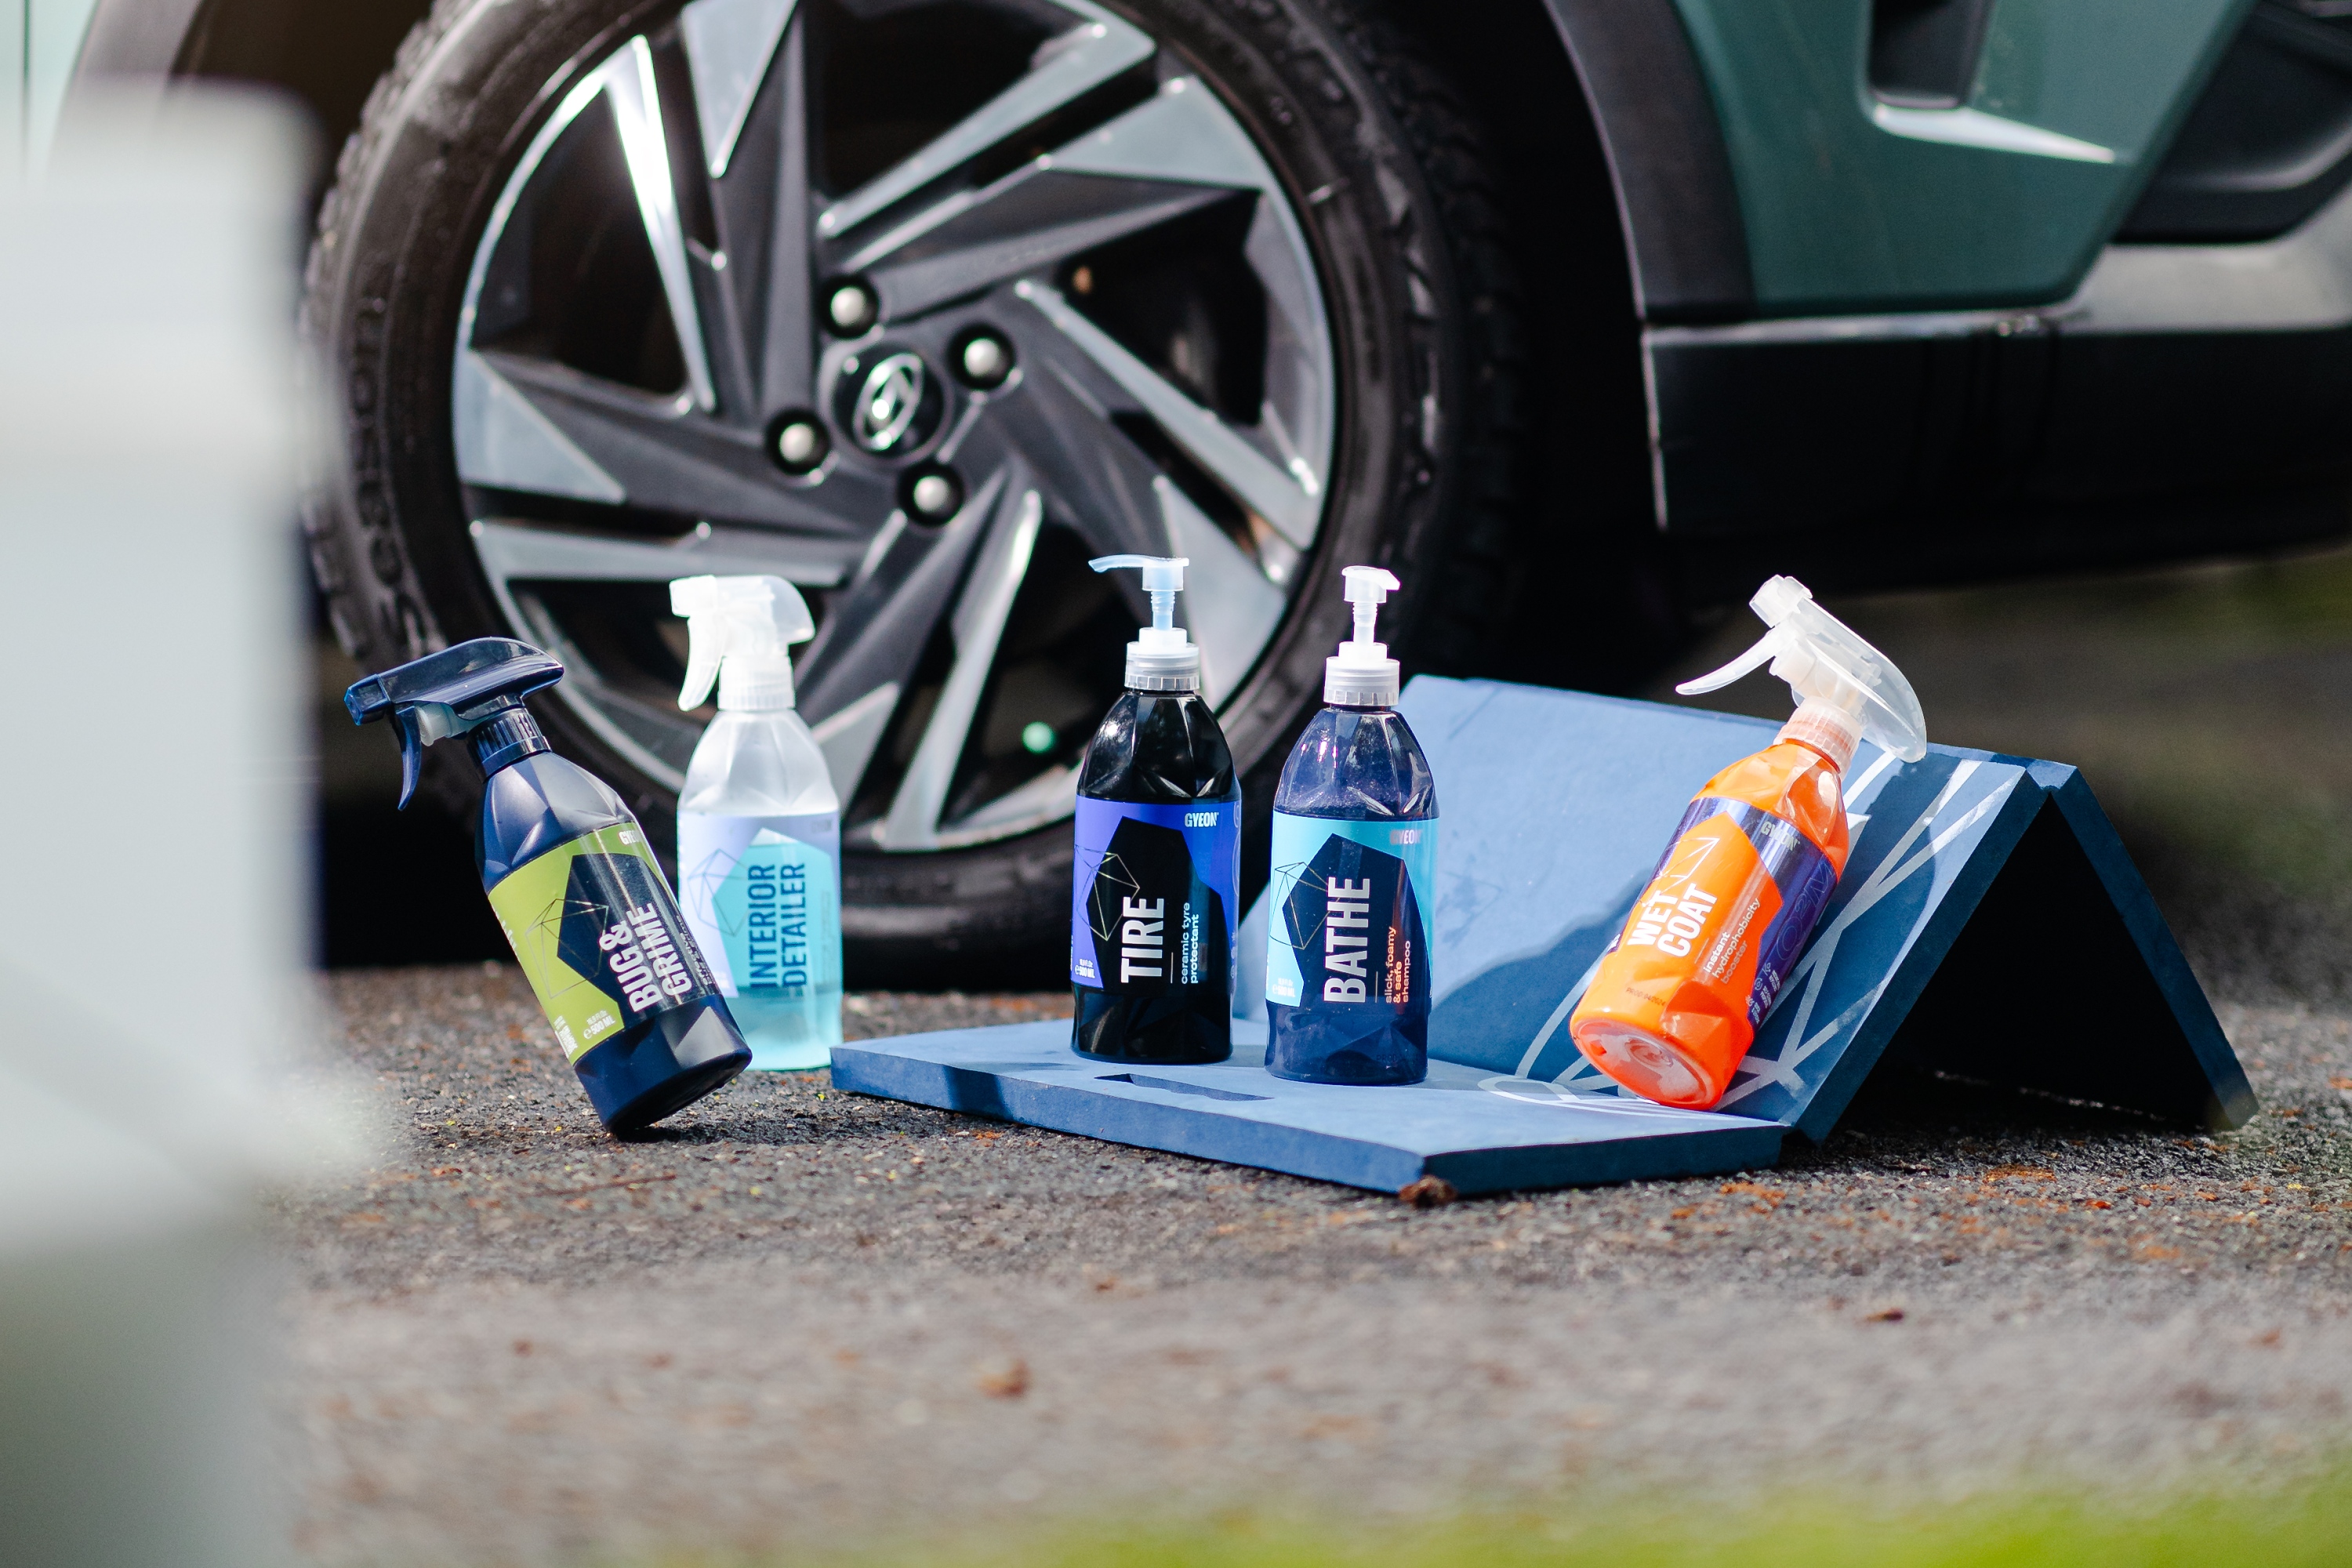
If you want to keep the achieved result as long as possible, you can apply a suitable protective layer to the clean and degreased metal, such as Gyeon Q² Rim. However, bear in mind that exhaust tips are exposed to high temperatures, so protection here generally won't last as long as on other parts of the vehicle. The best prevention therefore remains regular cleaning during a normal car wash, and apply any protection only if you have some left over from, for example, a previous application on the wheel rims. 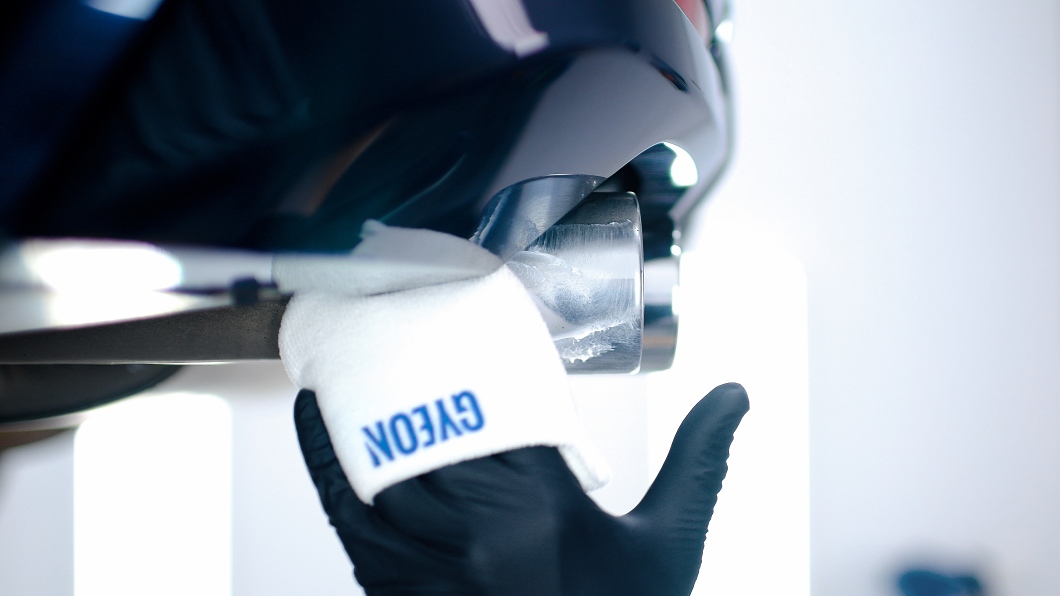
The result? A few dozen minutes of work with a surprising effect
Renovating an exhaust tip is neither time-consuming nor technically demanding, yet it can significantly change the appearance of the rear of a car. The difference between a black, matte surface and a clean, shiny tip is visible at first glance. Gyeon Q²M MetalPolish offers sufficient ability to remove oxidation, dulled surfaces and light defects while buffing metal to an almost mirror-like shine. You'll get the best result by thorough pre-cleaning, working on smaller areas and using several controlled applications instead of one unnecessarily aggressive intervention.
And what to avoid when polishing an exhaust tip?
Although the whole procedure is relatively simple, a few mistakes can needlessly complicate the work or even damage the tip's surface. So what should you be most careful about?
- Do not polish a hot tip. After driving, always let the exhaust cool completely. On a heated surface the polish can dry too quickly, be harder to work with and there is also a risk of burns.
- Do not skip thorough washing. Dust, sand and other coarse dirt trapped between the applicator and the metal can cause new scratches during polishing.
- Do not use an unnecessarily large amount of product. A thicker layer of polish does not automatically mean a faster result. The paste will only be harder to work in and remove.
- Do not start too aggressively right away. Coarse sponges, steel wool or machine polishing should only be used when gentler methods are insufficient and you are certain about the material and surface finish of the tip.
- Do not use the same applicator and cloth later on the paint. Carbon, oxidation residues and tiny metal particles can soil the microfiber significantly and damage more sensitive surfaces on subsequent use.
- Be careful with painted, matte and otherwise treated tips. Metal polish is abrasive and on unsuitable materials it can create a shiny spot, damage the paint or change the original appearance of the surface. If in doubt, first test it on a less visible area.